# 入门
# 创建 koa2 工程
# 项目搭建
首先,我们创建一个目录 hello-koa 并作为工程目录用 VS Code 打开。然后
npm init
# 添加依赖
npm install koa

或者

yarn add koa
2
3
4
5
6
# 创建第一个例子
我们创建 app.js,输入以下代码:
// 导入koa,和koa 1.x不同,在koa2中,我们导入的是一个class,因此用大写的Koa表示:
const Koa = require("koa");

// 创建一个Koa对象表示web app本身:
const app = new Koa();

// 对于任何请求,app将调用该异步函数处理请求:
app.use(async (ctx, next) => {
  await next();
  ctx.response.type = "text/html";
  ctx.response.body = "<h1>Hello, koa2!</h1>";
});

// 在端口3000监听:
app.listen(3000);
console.log("app started at port 3000...");
2
3
4
5
6
7
8
9
10
11
12
13
14
15
16
对于每一个 http 请求,koa 将调用我们传入的异步函数来处理:
async (ctx, next) => {
  await next();
  // 设置response的Content-Type:
  ctx.response.type = "text/html";
  // 设置response的内容:
  ctx.response.body = "<h1>Hello, koa2!</h1>";
};
2
3
4
5
6
7
其中,参数 ctx 是由 koa 传入的封装了 request 和 response 的变量,我们可以通过它访问 request 和 response,next 是 koa 传入的将要处理的下一个异步函数。
上面的异步函数中,我们首先用 await next();处理下一个异步函数,然后,设置 response 的 Content-Type 和内容。
由 async 标记的函数称为异步函数,在异步函数中,可以用 await 调用另一个异步函数,这两个关键字将在 ES7 中引入。
# 启动例子
我们在 VS Code 中执行 app.js,调试控制台输出如下:
node ./app.js
我们打开浏览器,输入http://localhost:3000,即可看到效果:
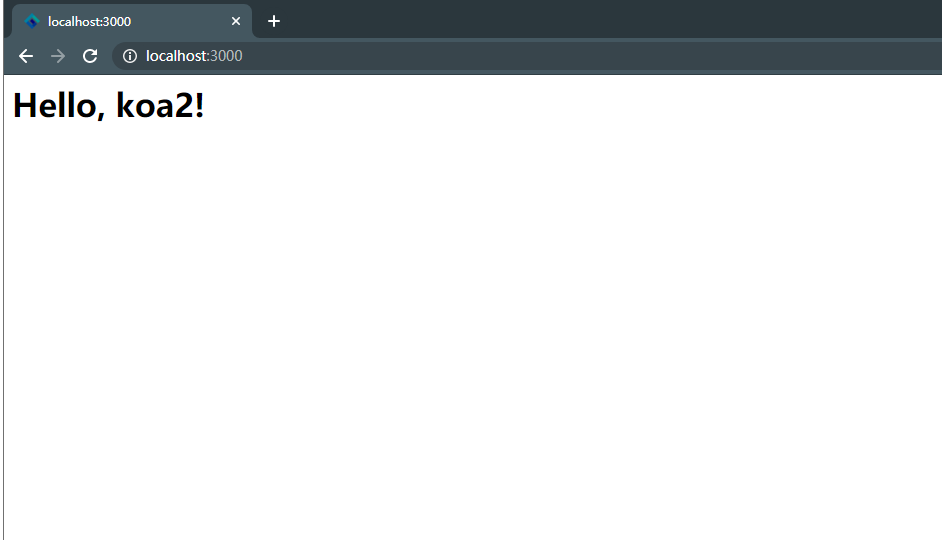
还可以直接用命令 node app.js 在命令行启动程序,或者用 npm start 启动。npm start 命令会让 npm 执行定义在 package.json 文件中的 start 对应命令:
"scripts": {
    "start": "node app.js"
}
2
3
启动执行:
npm run start
# middleware
让我们再仔细看看 koa 的执行逻辑。核心代码是:
app.use(async (ctx, next) => {
  await next();
  ctx.response.type = "text/html";
  ctx.response.body = "<h1>Hello, koa2!</h1>";
});
2
3
4
5
每收到一个 http 请求,koa 就会调用通过 app.use()注册的 async 函数,并传入 ctx 和 next 参数。
我们可以对 ctx 操作,并设置返回内容。但是为什么要调用 await next()?
原因是 koa 把很多 async 函数组成一个处理链,每个 async 函数都可以做一些自己的事情,然后用 await next()来调用下一个 async 函数。我们把每个 async 函数称为 middleware,这些 middleware 可以组合起来,完成很多有用的功能。
例如,可以用以下 3 个 middleware 组成处理链,依次打印日志,记录处理时间,输出 HTML:
app.use(async (ctx, next) => {
  console.log(`${ctx.request.method} ${ctx.request.url}`); // 打印URL
  await next(); // 调用下一个middleware
});

app.use(async (ctx, next) => {
  const start = new Date().getTime(); // 当前时间
  await next(); // 调用下一个middleware
  const ms = new Date().getTime() - start; // 耗费时间
  console.log(`Time: ${ms}ms`); // 打印耗费时间
});

app.use(async (ctx, next) => {
  await next();
  ctx.response.type = "text/html";
  ctx.response.body = "<h1>Hello, koa2!</h1>";
});
2
3
4
5
6
7
8
9
10
11
12
13
14
15
16
17
middleware 的顺序很重要,也就是调用 app.use()的顺序决定了 middleware 的顺序。
此外,如果一个 middleware 没有调用 await next(),会怎么办?答案是后续的 middleware 将不再执行了。这种情况也很常见,例如,一个检测用户权限的 middleware 可以决定是否继续处理请求,还是直接返回 403 错误
app.use(async (ctx, next) => {
    if (await checkUserPermission(ctx)) {
        await next();
    } else {
        ctx.response.status = 403;
    }
});
2
3
4
5
6
7
理解了 middleware,我们就已经会用 koa 了!
最后注意 ctx 对象有一些简写的方法,例如 ctx.url 相当于 ctx.request.url,ctx.type 相当于 ctx.response.type。